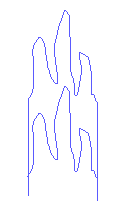
Here is one way to make a wavy-line tessellation in any computer drawing program.
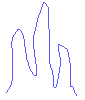
1. First, draw a wiggly line. (Don't put any loops in it!) If you measure straight across from the starting point to the ending point, that should be the widest part of the wiggly line. |
 |
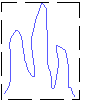
2. Now, use your selection tool (the "running ants") and click and drag around your wiggly line.
3. Copy and paste it nearby so that you have two wiggly lines that are exactly the same. |
 |
| 4. Draw a straight line nearby. Use the selection tool and make a copy of this line, too. |
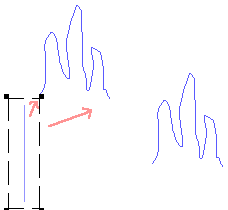 |
| 5. Now use the selection tool to drag each straight line so that it touches an end of the wiggly line. |
 |
|
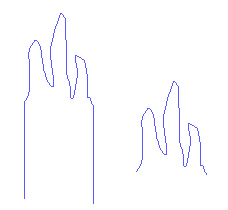
| 6. Select and drag the second wiggly line so that it touches the bottom ends of the two straight lines (or so that it fits inside the two straight lines). Erase any extra sections of the lines. |
 |
| 7. Fill the trimmed shape with color (or with a design). |
 |
| 8. Copy and paste this shape. Fill it with another color (or change the colors or patterns in the design). If you like, make a third or fourth copy of the shape and fill each copy with another color or design. Once you fit two or more together, you can copy and paste this cluster to start filling the page with a tessellating pattern. Be sure not to leave any gaps! |
 |
